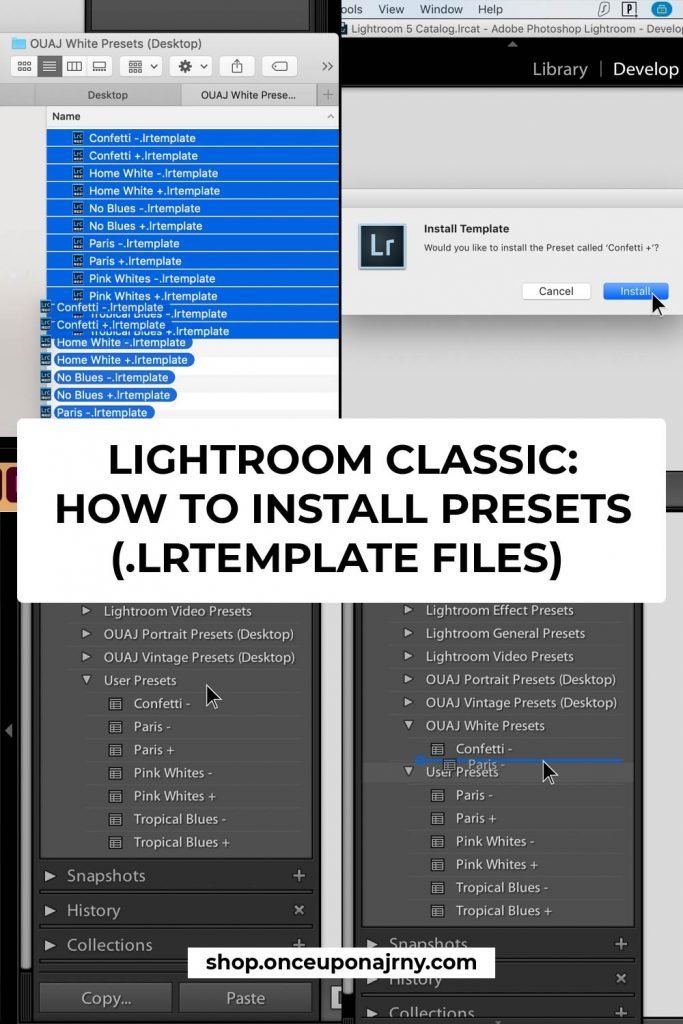
If you bought our desktop Lightroom presets, this is the installation guide for you! If you’re thinking Lightroom presets? How to install on desktop? We will explain step-by-step – for both Windows and Mac. This installation guide is for Lightroom Classic (version 7.2 and older), which uses .lrtemplate preset files.
If you are unsure which version you use, check our FAQ-page.
We also have installation guides for newer versions of Lightroom Classic, the cloud-based Lightroom, and Photoshop (that use .xmp preset files).
Did you buy our mobile presets? Please check our article How to Add Presets to Lightroom Mobile.
Time needed: 5 minutes
Lightroom Presets: How to Install on Desktop (.LRTEMPLATE Files)
- Download the presets
from the download link in the confirmation email and unzip the folder.
- Open Lightroom Classic.
on your desktop
- Drag the .lrtemplate files from the folder onto the Lightroom app icon to install.
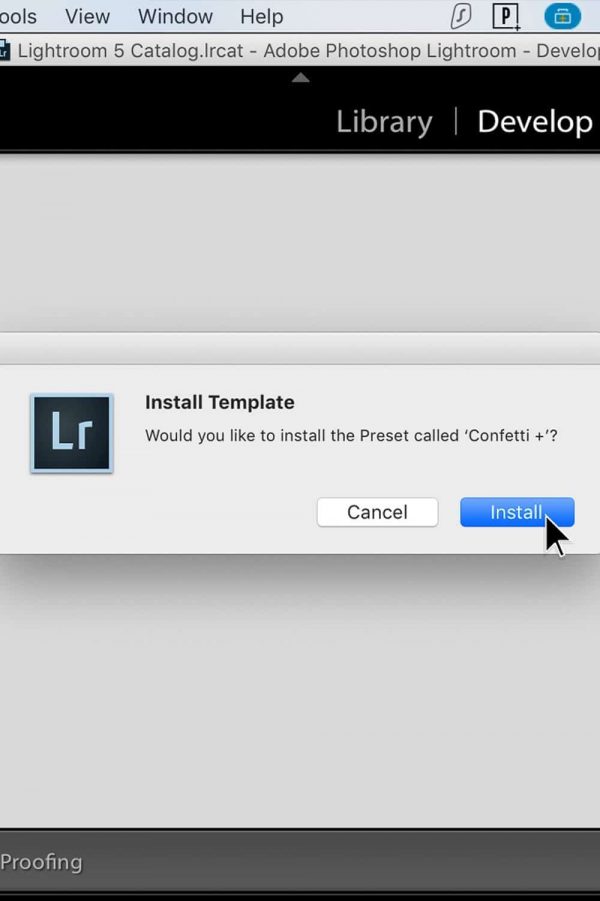
- A pop up will appear ‘Install Template’, click ‘install’ for each preset.
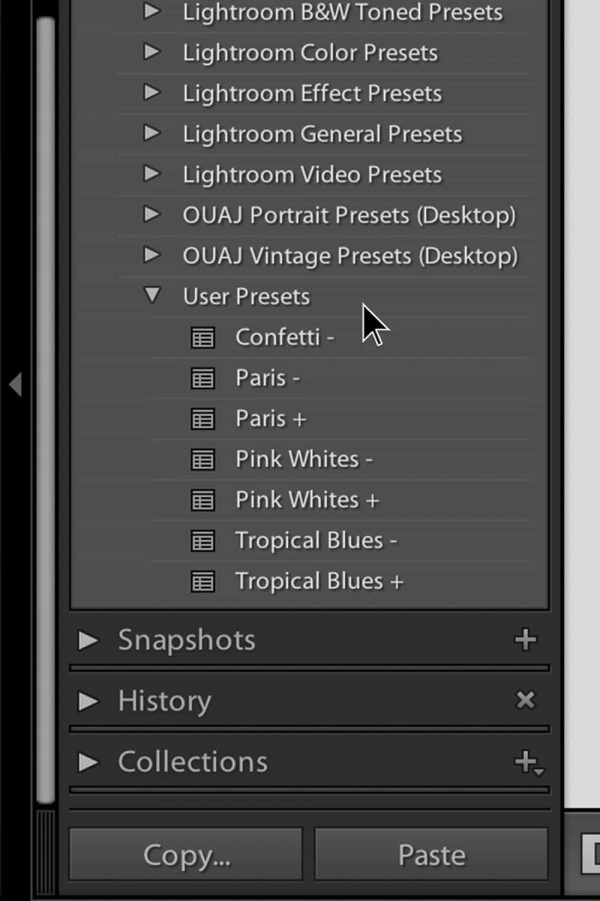
- The presets will appear in the ‘Presets’ tab (in the panel on the left, below ‘Navigator’ under user presets.
- You can right-click in the ‘Presets’ tab and click ‘New Folder’.
- Create a folder with the name of the preset pack. Drag the presets into the folder.
- Happy editing!
Please show us your beautiful creations and use #onceuponapreset when you share your edited photos!
NOTES:
- The white balance (WB) is NOT included in any of our presets, you need to adjust this yourself if the WB is off.
- You might need to make some small adjustments for the best results.
SAVE THIS ARTICLE “LIGHTROOM PRESETS: HOW TO INSTALL?” FOR LATER


